+86-519-83387581
Before the assembly work begins, the technicians conduct a comprehensive inspection of each component according to the design drawings and process standards. The inspection covers aspects such as the surface quality, dimensional accuracy, and geometric tolerance of the parts. Any slight processing error or surface defect may affect the overall performance during the operation of the equipment, so only parts that pass strict quality inspection can enter the assembly process.
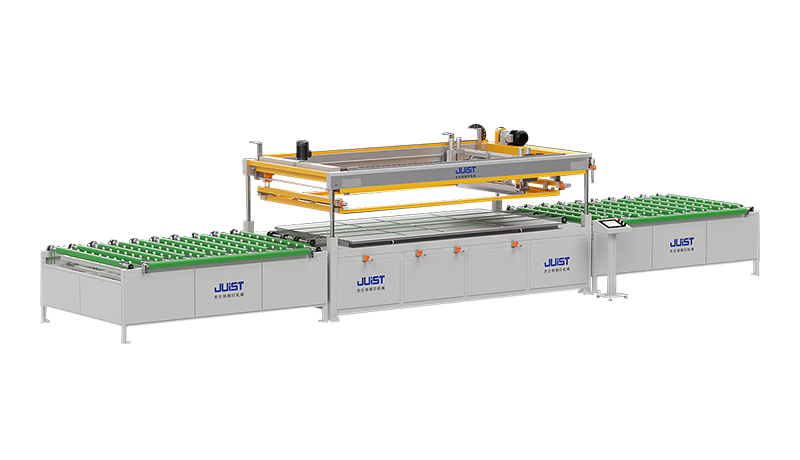
The installation of the print head and the screen is the core content of the assembly process. The parallelism and gap uniformity between the two directly affect the ink transfer effect and the quality of the printed pattern. The technicians use high-precision positioning fixtures to accurately calibrate the angle and height of the print head and the screen according to the pre-set parameters. In the horizontal direction calibration, the highly collimated laser beam emitted by the laser calibrator is used as a reference, and the high-precision sensor is used to capture the offset of the reflected light on the surface of the component. The component is fine-tuned based on the feedback data to control the parallel error in the horizontal direction. In the vertical direction, the height change of the components is monitored in real time by a precision displacement sensor, and the vertical distance between the printing head and the screen is adjusted to the design requirements in conjunction with a high-precision lifting mechanism. The adjustment mechanism is responsible for fine-tuning the gap between the printing head and the screen. The mechanism adopts a high-precision spiral transmission and a micro-feed structure. The technician obtains the gap value through manual or electric operation combined with measuring tools such as a micrometer. If the gap is too large, the ink is easy to spread during printing, resulting in blurred edges and thicker lines of the pattern; if the gap is too small, the friction between the printing head and the screen may increase, which may cause poor ink transfer and broken lines of the pattern. Only by controlling the gap within a reasonable range can a stable ink printing effect be guaranteed, providing the basic conditions for high-precision printing. The assembly of the transmission system and the visual alignment system of the equipment is also crucial. In the transmission system, the assembly accuracy of components such as guide rails, lead screws, and nuts is directly related to the motion accuracy of the printing platform. When installing the guide rail, the installation base surface must be precisely ground to ensure flatness. During the installation process, a high-precision level and straightness measuring instrument are used for real-time monitoring, and the guide rail straightness error is controlled by adjusting the mounting bolts and gaskets. In order to ensure the parallelism of the two rails, a special measuring device is used to adjust one rail with the other as the reference to ensure that the parallel error of the two rails within the full length meets the design standard.
Before assembling the lead screw and nut, cleaning and deburring are required to ensure a smooth surface. Apply special grease during assembly to reduce friction and wear, and use a preload device to eliminate transmission clearance. The size of the preload force needs to be accurately calculated and adjusted according to the equipment load and operation requirements. If the preload force is too large, the transmission resistance will increase, and if it is too small, the clearance cannot be effectively eliminated, affecting the transmission accuracy.
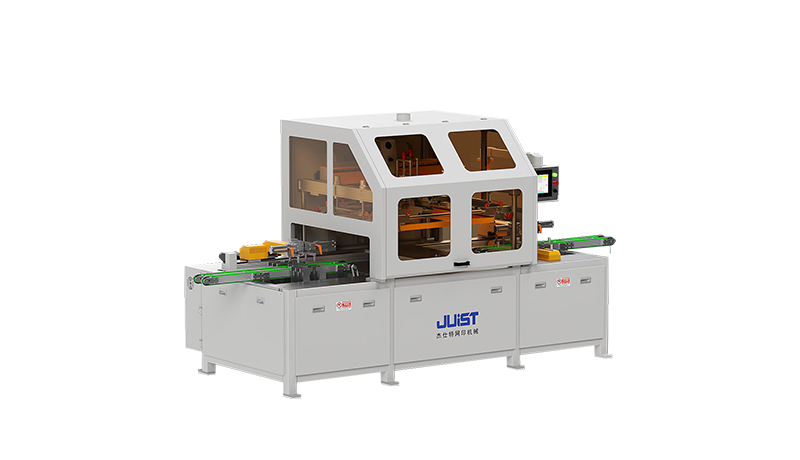
The assembly of the visual alignment system directly affects the image acquisition quality. When installing the CCD camera and the lens, a special optical adjustment frame is used to adjust the three-dimensional space position, and the fine-tuning knob on the adjustment frame is used to achieve precise displacement and angle changes in the horizontal, vertical and rotational directions. At the same time, the calibration plate is used to calibrate the visual system. By shooting calibration patterns at different positions and angles, the internal parameters of the camera (such as focal length, principal point coordinates) and external parameters (such as camera position and posture) are calculated to establish the conversion relationship between the image coordinate system and the world coordinate system.
It is also necessary to reasonably select the type of light source (such as ring light source, backlight source, etc.) and adjust the light intensity to ensure that the characteristic points of the substrate are clearly presented in the image, providing accurate image information for automatic alignment.
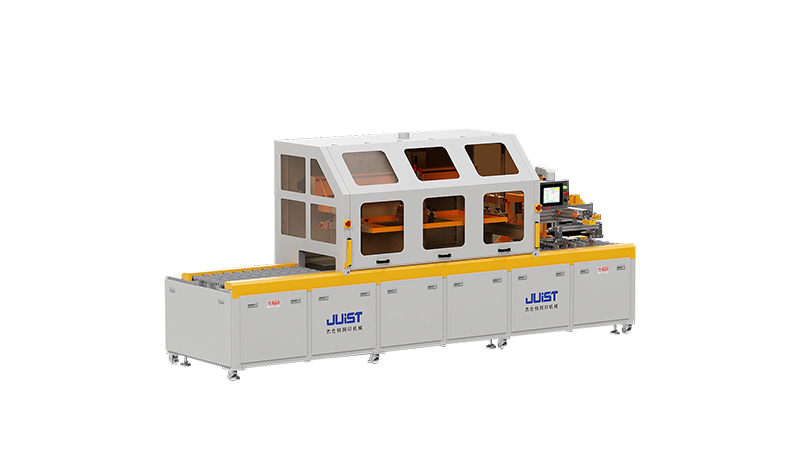
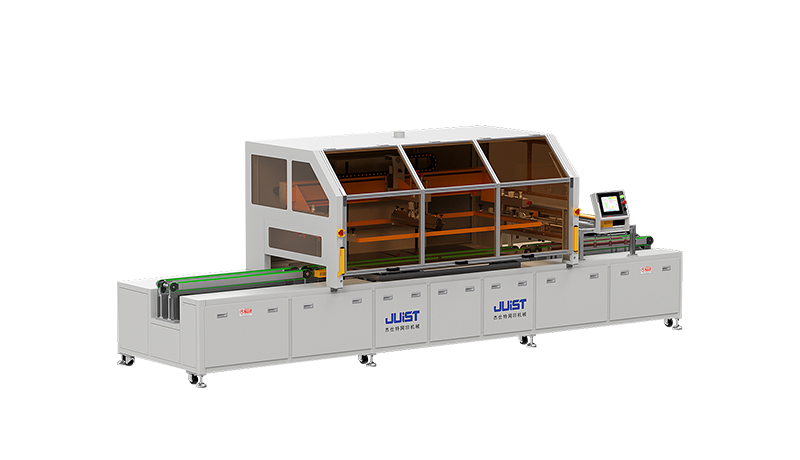
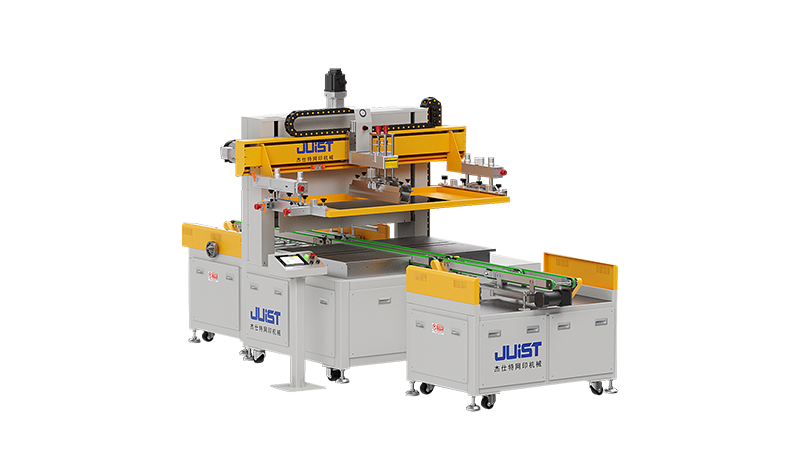
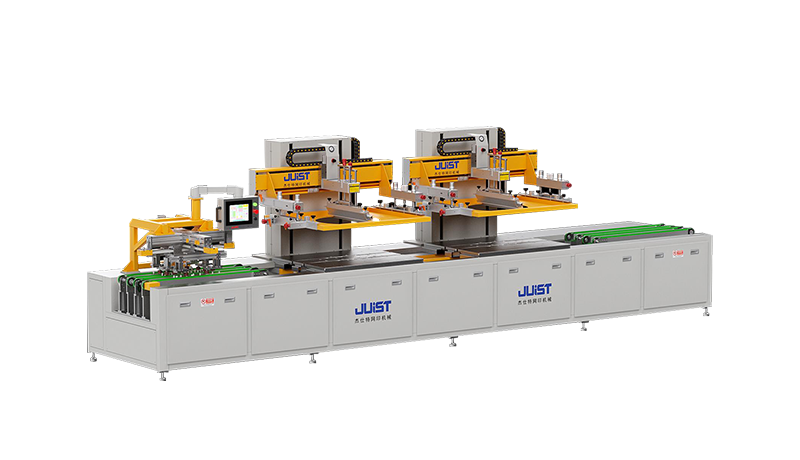
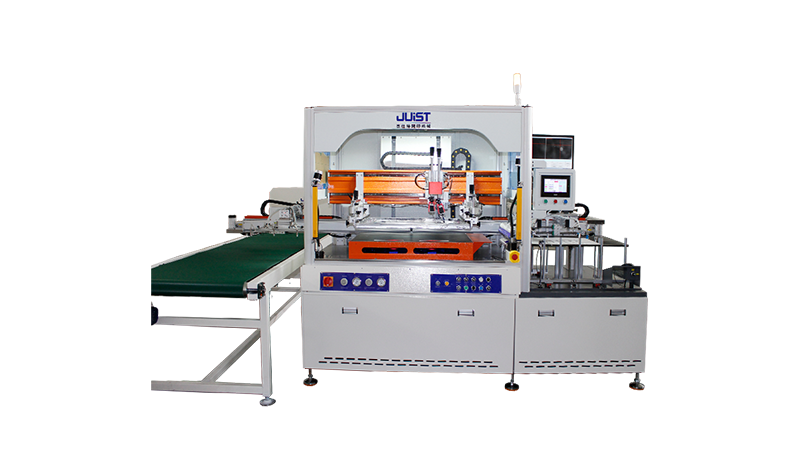
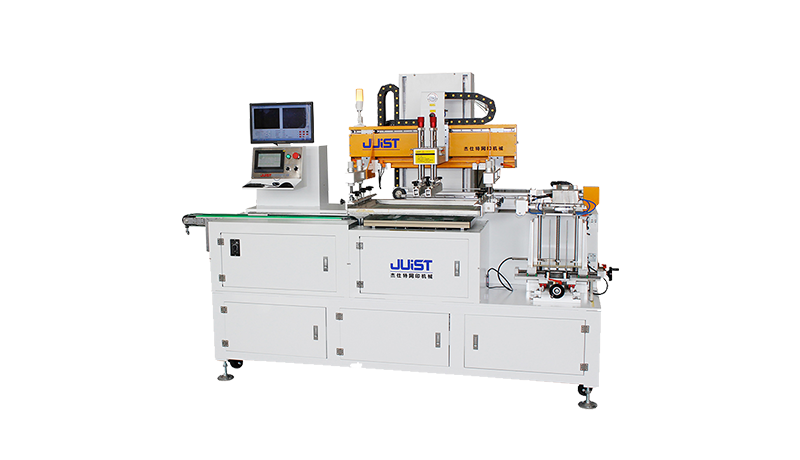
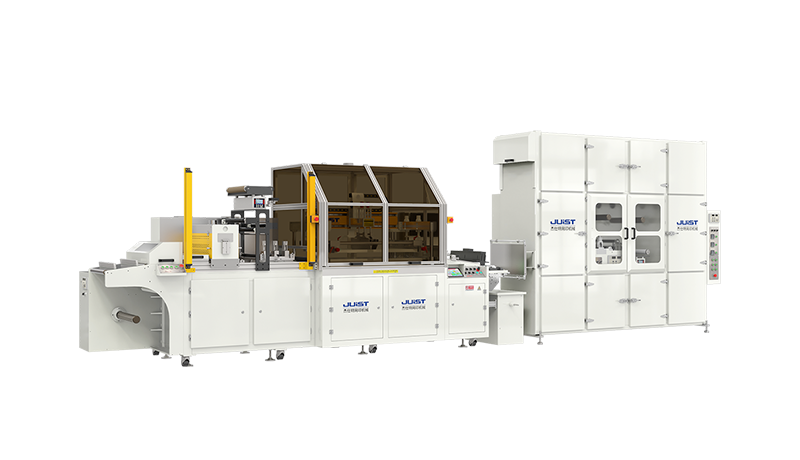
After the parts are assembled, the automatic (CCD) counterpoint high precision screen printing press enters the debugging stage. The debugging personnel conduct comprehensive testing and optimization of various performance indicators of the equipment, among which printing accuracy debugging is the primary task. The debugging personnel select a variety of substrates with different materials and surface characteristics, and print standard patterns containing lines of different widths, complex geometric figures and fine text logos to test the printing ability of the equipment under different conditions.
Through high-power microscopes and image analysis software, the line clarity, edge quality and matching degree of the printed pattern with the design draft are quantitatively analyzed. If printing deviation is found, it is necessary to check and adjust from multiple aspects. In the control of the printing head pressure, the pressure sensor is used to monitor the pressure value in real time, and the contact pressure between the printing head and the screen is changed through the pressure adjustment mechanism. Improper pressure will cause abnormal ink transfer and affect the pattern quality. The viscosity of the ink also needs to be adjusted by adding diluents or thickeners according to the requirements of the substrate and printing process, and the influence of ambient temperature on viscosity should be considered to ensure that the ink has good fluidity and transferability. The printing speed also needs to be precisely controlled. Too fast or too slow speed will affect the ink transfer effect and production efficiency. The optimal printing speed needs to be found by gradually adjusting the movement frequency of the print head and combining the pattern quality observation.
The repeated positioning accuracy debugging is intended to ensure the position accuracy of the equipment during multiple printings. The debugging personnel control the printing platform to perform multiple repeated movements, and use a high-precision coordinate measuring instrument to measure the actual position after each movement and compare it with the preset position. If positioning deviation occurs, it is necessary to check the transmission system clearance, such as detecting the reverse clearance of the lead screw nut pair to determine whether it needs to be adjusted or replaced; analyze the operating parameters of the servo motor (such as speed fluctuation, torque output) to check the control system; re-shoot the substrate feature point image to verify the recognition accuracy of the visual alignment system, and repair and replace or optimize the parameters of the relevant components according to the problem to ensure that the repeated positioning accuracy meets the requirements of high-precision printing.
The debugging of printing speed and ink transfer amount is interrelated. The debugging personnel explore the optimal operating parameters of the equipment under the premise of ensuring printing quality. When increasing the printing speed, the print head movement frequency needs to be adjusted synchronously, and the scraper angle and pressure need to be finely adjusted. The scraper angle and pressure will affect the scraping and transfer of ink on the screen. Improper angle and pressure will cause uneven ink transfer or abnormal transfer amount. The debugging personnel try different parameter combinations, record the changes in pattern quality, and draw the relationship curve between printing speed, ink transfer amount and printing quality, so as to determine the best balance point among the three, and achieve stable and uniform ink transfer and high-quality printing output under high-speed operation of the equipment.
